I use MCP to give Jcode tools supplied by a separate server. I check three things independently: which configuration was loaded, whether the server completed initialization, and whether an actual tool call succeeded. Seeing a server name in a list answers only the first question.
Where I put and check MCP configuration
| File or source | How I use it |
|---|---|
~/.jcode/mcp.json |
My global Jcode MCP configuration. If I set JCODE_HOME, I check mcp.json inside that directory. |
.jcode/mcp.json |
Project-local configuration, resolved against the project directory. |
.mcp.json and .claude/mcp.json |
Additional project compatibility sources. I check duplicate server names across these files. |
~/.claude.json and legacy ~/.claude/mcp.json |
Live Claude compatibility sources; I do not assume they were copied only once. |
~/.codex/config.toml |
One-time import when Jcode’s own global MCP file does not exist. Later Codex edits are not automatically synced into that imported file. |
I confirm the effective names with jcode mcp list. The release’s configuration loader defines source merging and environment expansion. If two files define the same name, I inspect both rather than assume the file I just edited won.
A minimal stdio entry has this shape. I replace the example path and arguments with the real server’s instructions; this placeholder command is not an installed server.
{
  "mcpServers": {
    "my-server": {
      "command": "/absolute/path/to/server-executable",
      "args": [],
      "env": {},
      "timeout_secs": 30
    }
  }
}
Transport correction: current Jcode includes stdio, Streamable HTTP and legacy SSE support, plus explicit remote OAuth commands. The earlier stdio-only claim on this page is outdated. I verified stdio here; I did not test a remote server or OAuth login. I use the versioned MCP command implementation and transport client to distinguish supported features from my local test coverage.
My practical MCP diagnostic sequence
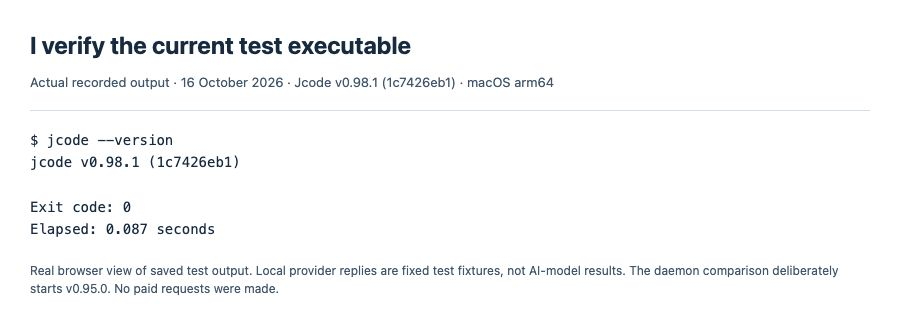
1. I update and record the exact version
jcode --version
jcode update
# Restart the client, then verify the version:
jcode --version
I compare against the official v0.98.1 release. My tests use a separate SHA-256-verified release copy. I check the updater’s result and the running daemon too; updating an executable does not, by itself, prove every existing process uses it.
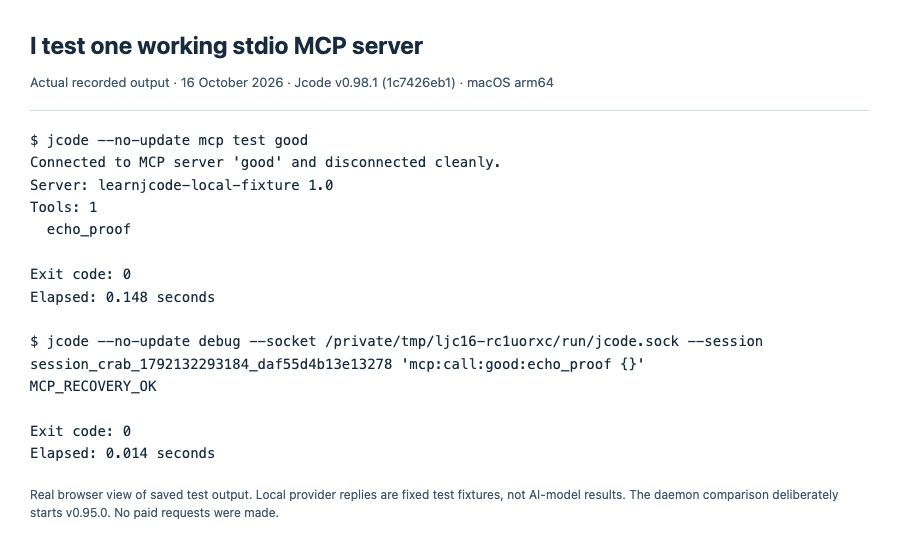
2. I list configuration, then test one server
jcode mcp list
jcode mcp test my-server
I replace my-server with a name from the list. Listing does not connect; mcp test connects once, reports server information and tool names, then disconnects. It does not invoke a tool. In my working fixture, this connection check took 0.148 seconds. I separately called its harmless echo tool and received MCP_RECOVERY_OK.
3. I read the failure cause before changing authentication
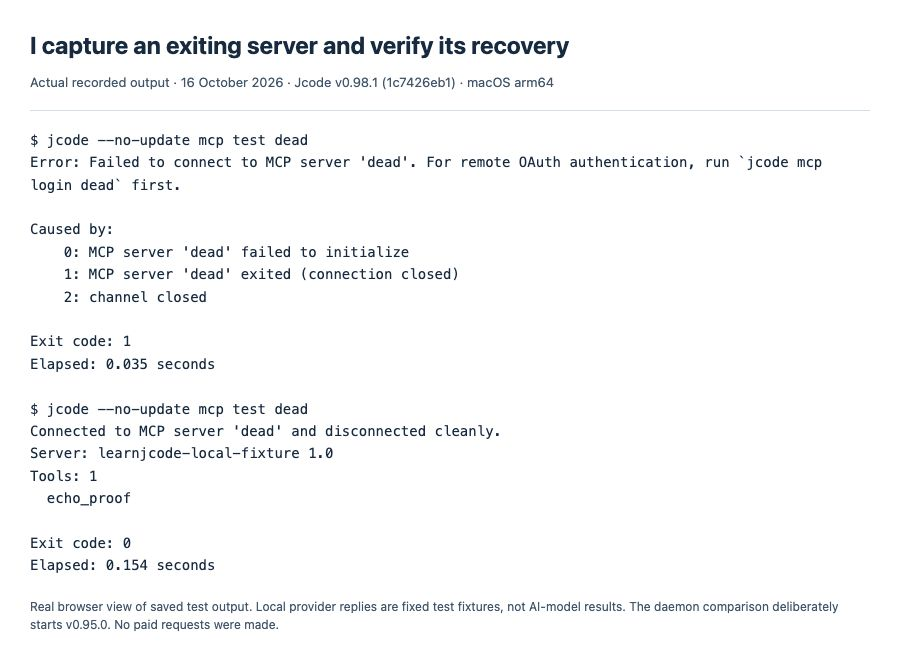
My deliberately broken fixture wrote a diagnostic to stderr and exited before answering initialize. Even with timeout_secs: 86400, current Jcode detected the closed connection in 0.035 seconds and exited with code 1. It did not wait a day.
MCP server 'dead' failed to initialize
MCP server 'dead' exited (connection closed)
channel closed
The error wrapper also mentions remote OAuth. I follow the actual cause: this server uses stdio and has exited, so a remote login is not its repair. I check its executable, arguments, runtime dependencies and stderr. For stdio, I keep diagnostics off stdout because stdout carries protocol messages.
My verified repair: I changed that fixture’s command arguments to start its working mode, then ran jcode mcp test dead again. It connected, listed the echo tool and disconnected cleanly in 0.154 seconds.
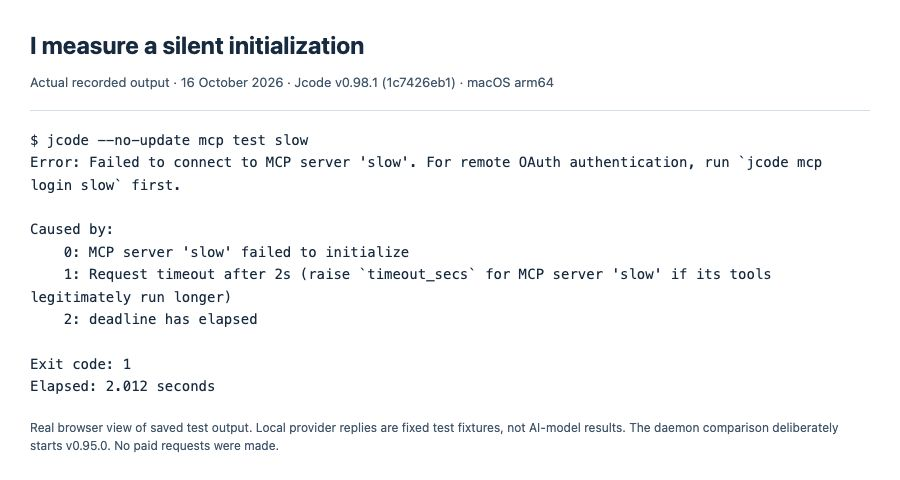
4. I distinguish silence from an exited process
Another fixture stayed alive but never answered initialization. With its timeout set to two seconds, mcp test slow failed in 2.012 seconds. I check whether the process is waiting for input or blocked on a dependency before increasing its budget.
5. I raise only a genuinely slow server’s timeout
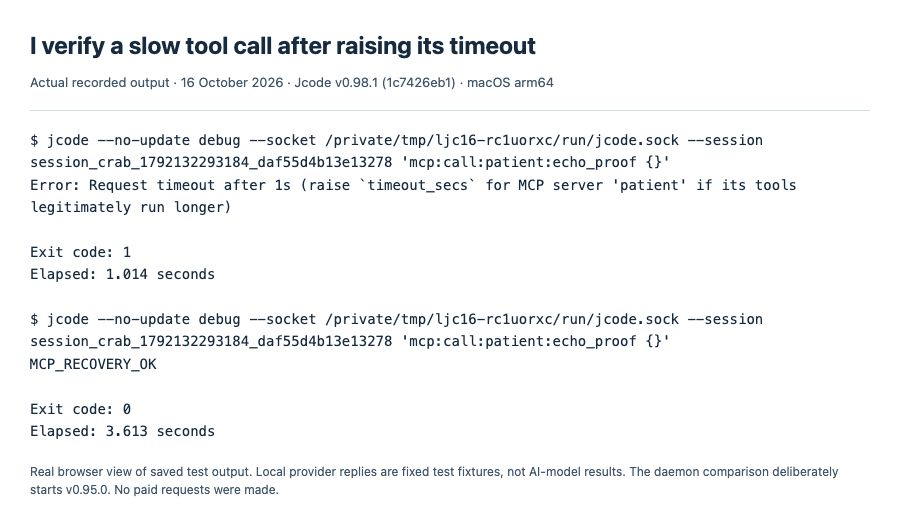
I used a fixture that initialized normally, then took three seconds to answer a tool call. With timeout_secs: 1, the call failed in 1.014 seconds and named the server and setting in the error. I changed that server’s value to 5, reloaded MCP, and repeated the same call. It returned MCP_RECOVERY_OK in 3.613 seconds.
"timeout_secs": 5I change this field inside the existing server object, preserving its command, arguments and environment. In my test I used the debug mcp:reload operation; in a normal session I ask Jcode’s MCP management tool to reload, or start a fresh session. I then repeat the actual small tool call. A successful configuration reload alone is not the final check.
6. I measure startup instead of assuming it is always instant
I ran headless Jcode with a cold MCP cache, one working server and one silent server configured for a 30-second initialization timeout. My first controlled local chat request arrived at 5.562 seconds; the entire run took 5.620 seconds. It did not wait the full 30 seconds in this test, but there was a measurable startup wait.
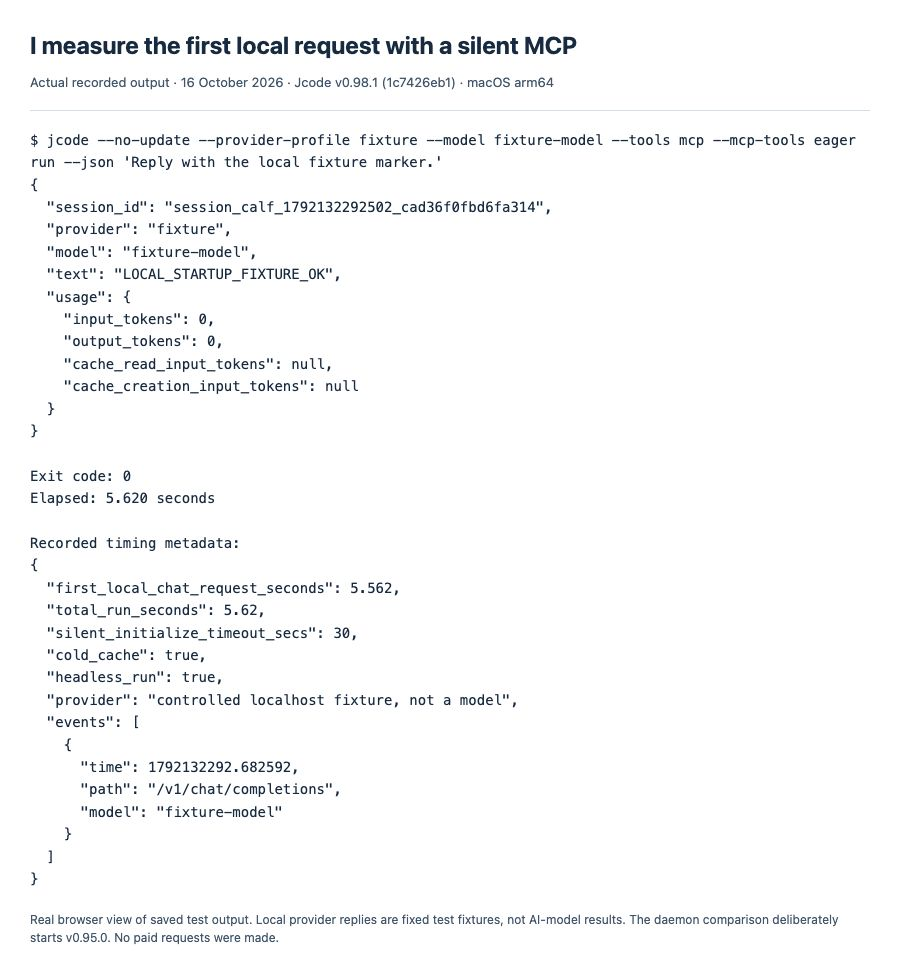
The versioned headless startup path includes a bounded cold-cache wait. I keep that separate from initialization timeouts and later tool-call timeouts. This test used a local HTTP fixture returning a fixed marker, not a hosted AI model, and does not establish TUI timing or reproduce a particular remote server.
Historical reports I do not present as current failures
| Report | Status checked 16 October 2026 | Current interpretation |
|---|---|---|
| #1517 · exited stdio server hangs | Closed, completed; original report used v0.88.0 | My v0.98.1 exiting fixture failed in 0.035 seconds, despite its 86400-second setting. |
| #1174 · configurable timeout | Closed, completed | My per-server timeout change affected a real local tool call as expected. |
| #802 · hardcoded request timeout | Open | Its open status does not mean current Jcode lacks timeout_secs; I verified that setting. |
| #617 · first model call delayed 30 seconds | Closed, not planned, after missing follow-up | Not marked fixed. My controlled headless run is a separate observation, not a recreation of the reported Linux/headroom setup. |
I return to the errors hub for other MCP symptoms and the current provider troubleshooting guide when the failure occurs at the model endpoint instead of an MCP server.